➤ How to Code a Game
➤ Array Programs in Java
➤ Java Inline Thread Creation
➤ Java Custom Exception
➤ Hibernate vs JDBC
➤ Object Relational Mapping
➤ Check Oracle DB Size
➤ Check Oracle DB Version
➤ Generation of Computers
➤ XML Pros & Cons
➤ Git Analytics & Its Uses
➤ Top Skills for Cloud Professional
➤ How to Hire Best Candidates
➤ Scrum Master Roles & Work
➤ CyberSecurity in Python
➤ Protect from Cyber-Attack
➤ Solve App Development Challenges
➤ Top Chrome Extensions for Twitch Users
➤ Mistakes That Can Ruin Your Test Metric Program
How to Change Java Version Eclipse Project? When we create a Java project inside the Eclipse IDE then that time we can assign the installed Java version, but we can also change after creating the project. Let us see how to do this. This can be done in the following steps,
- Check the current Java version of the Eclipse project.
- Check available JRE in the Eclipse IDE.
- Add JRE (required Java version) to the Eclipse IDE.
- Change Java Version for the Project in Eclipse.
- Check Compiler Version for the Java Project.
Check Java Version of Current Project
In the Project Explorer section, we can see the JRE System Library which is also displaying the current Java version of the Project.

In this project the current Java version is 13, but we need to change to the higher version Java 15. Let us see how to do it.
Check Available JRE in the Eclipse IDE
Before changing the Java version for a project, first, check the JRE installed in the current system. Go to Window => Preferences => Java => Installed JREs.
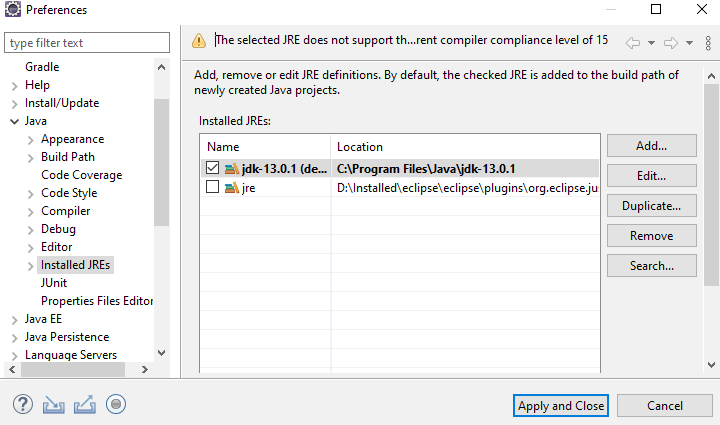
Currently, the Eclipse IDE is having the default JRE and JDK13 versions. To change the Java version, first, we need to add that Java version (with JRE) to the Eclipse IDE.
Add JRE to the Eclipse IDE
Click on “Add” to add the JRE, a new window will appear to ask the type of JRE. Here we will choose Standard VM.
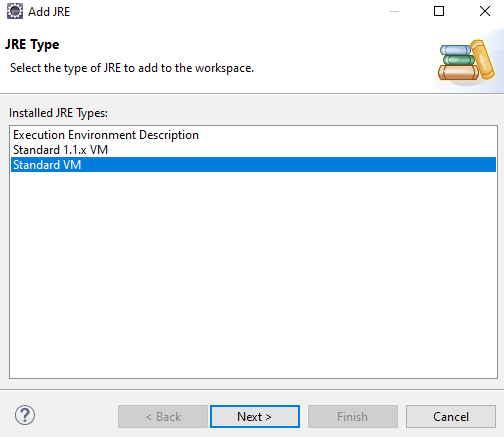
Now, click on Directory, browse the Java home and add it to the Eclipse IDE. Based on the Java version, Eclipse IDE itself fetches the JRE name and JRE system libraries files. Click on Finish.

Adding JRE to the Eclipse IDE is completed. Now, our Eclipse IDE is having three installed JREs. Click on Apply and Close.
Change Java Version for the Project in Eclipse
Let us change the Java version for a particular Java project. Select Java project => right-click on it => Click on Build path => Configure Build Path.

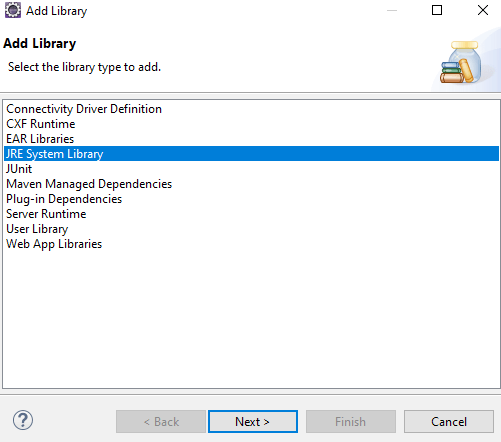
In the Libraries section, select the exiting JRE System Library and Remove it. After removing it, click on Add Libraries, and choose JRE System Library.
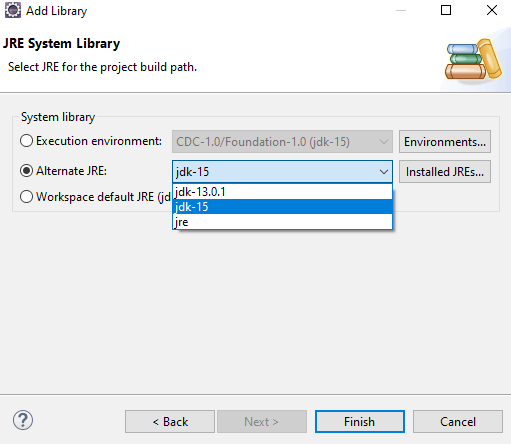
Now, select the Java version and click on “Finish”.
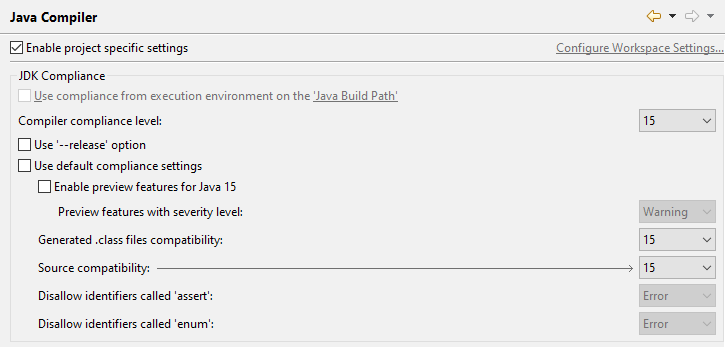
Check Compiler Version for the Java Project
At last to Change Java Version Eclipse Project, check the correct compiler is configured or not?
If not then change it. Select the Java project => Right-click => Build Path => Configure Build Path => Java compiler.
If you enjoyed this post, share it with your friends. Do you want to share more information about the topic discussed above or do you find anything incorrect? Let us know in the comments. Thank you!